Chicken Caldereta Recipe
My mother is an incredible cook and this is not me being biased - it’s a fact. Everyone is always excited to feast on my mother’s cooking. If there’s one thing I truly appreciate about my mom and how she is as a cook, it is that she does not believe in keeping her recipes a secret. She has always shared freely with everyone her exact recipe for every dish they have asked about but no one ever gets it right.
Beef caldereta has been my mom’s specialty since forever and everyone always swears by it being the best they have ever had. Many have tried to replicate it but come back to her saying hers is really different.
So for this recipe I went on a call with my mom and asked her how she does her caldereta. She said that to make this chicken caldereta, just basically follow what she said and simply replace beef with chicken.
Before we get onto the nitty gritty details of how to cook this sumptuous dish, what is a caldereta and where did it come from?
The word caldereta comes from the Spanish word “caldera” which means “cooking pot” or “couldron”. Many things about the Philippines were widely influenced by the Spaniards. I’m not even surprised given the Spanish colonial period spanned over 300 years which was from 1565-1898.
Caldereta is actually a Spanish stew that mainly used seafood. When it was brought to the Philippines, the easiest accessible meat back then were goat and beef. Accessibility of meat highly depended also on how much they would cost.
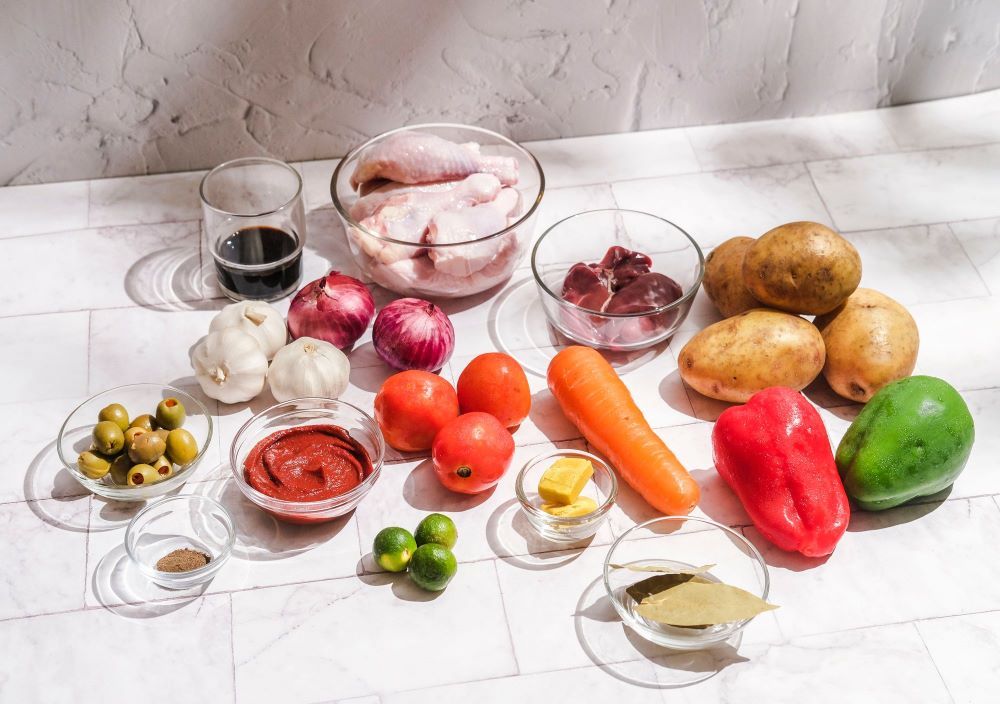
Now that you know where it came from, let’s gather quite a long list of ingredients.
How to make this classic sumptuous dish
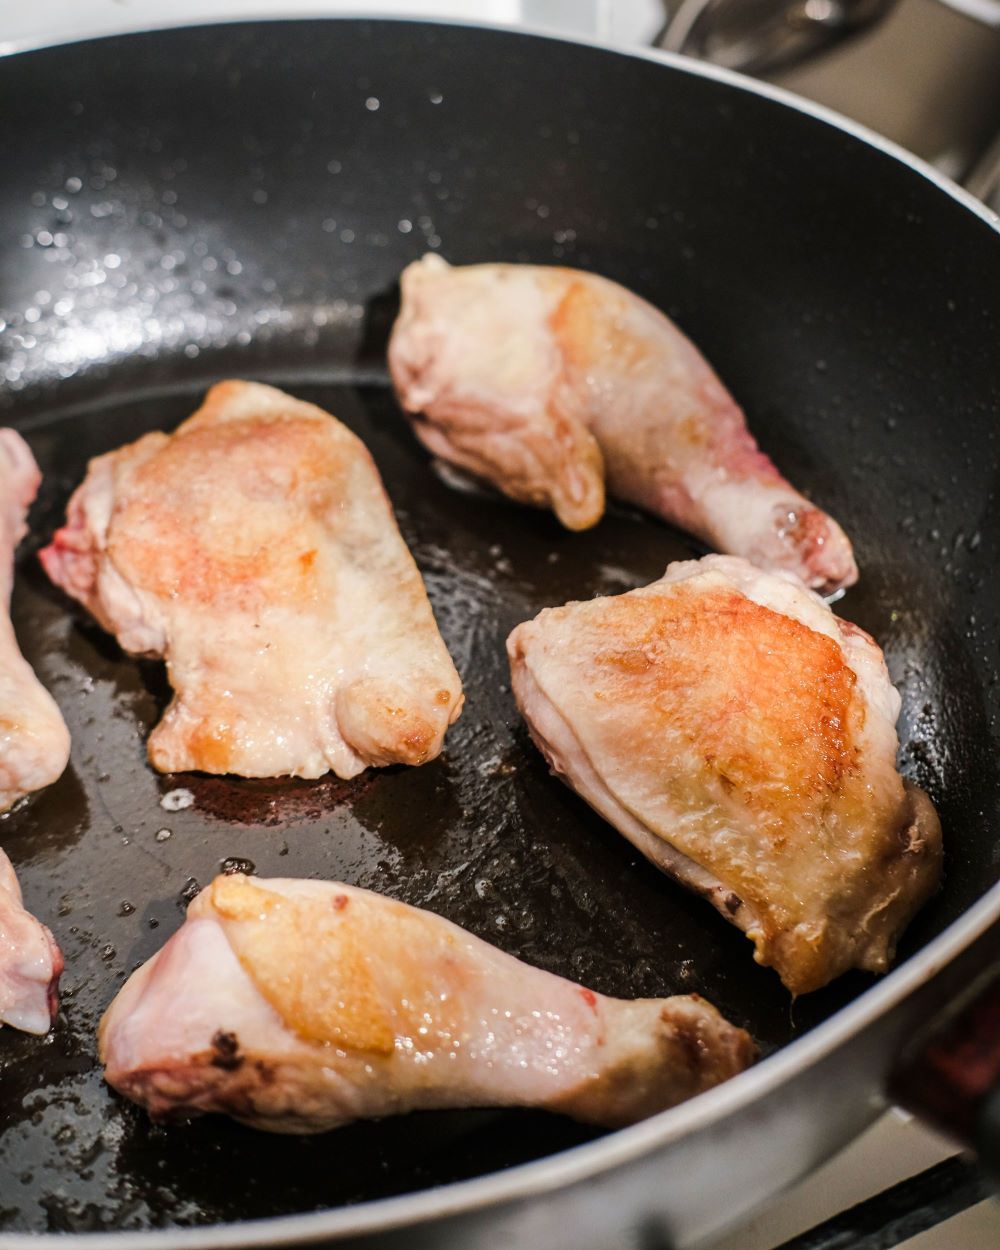
1. In a heated saute pan, add a little oil (simply because once you add in your chicken, it will extract its own oil meaning you don’t really need a lot - just enough for your chicken to not stick onto your pan as it cooks). Saute chicken and wait till both sides are golden brown.
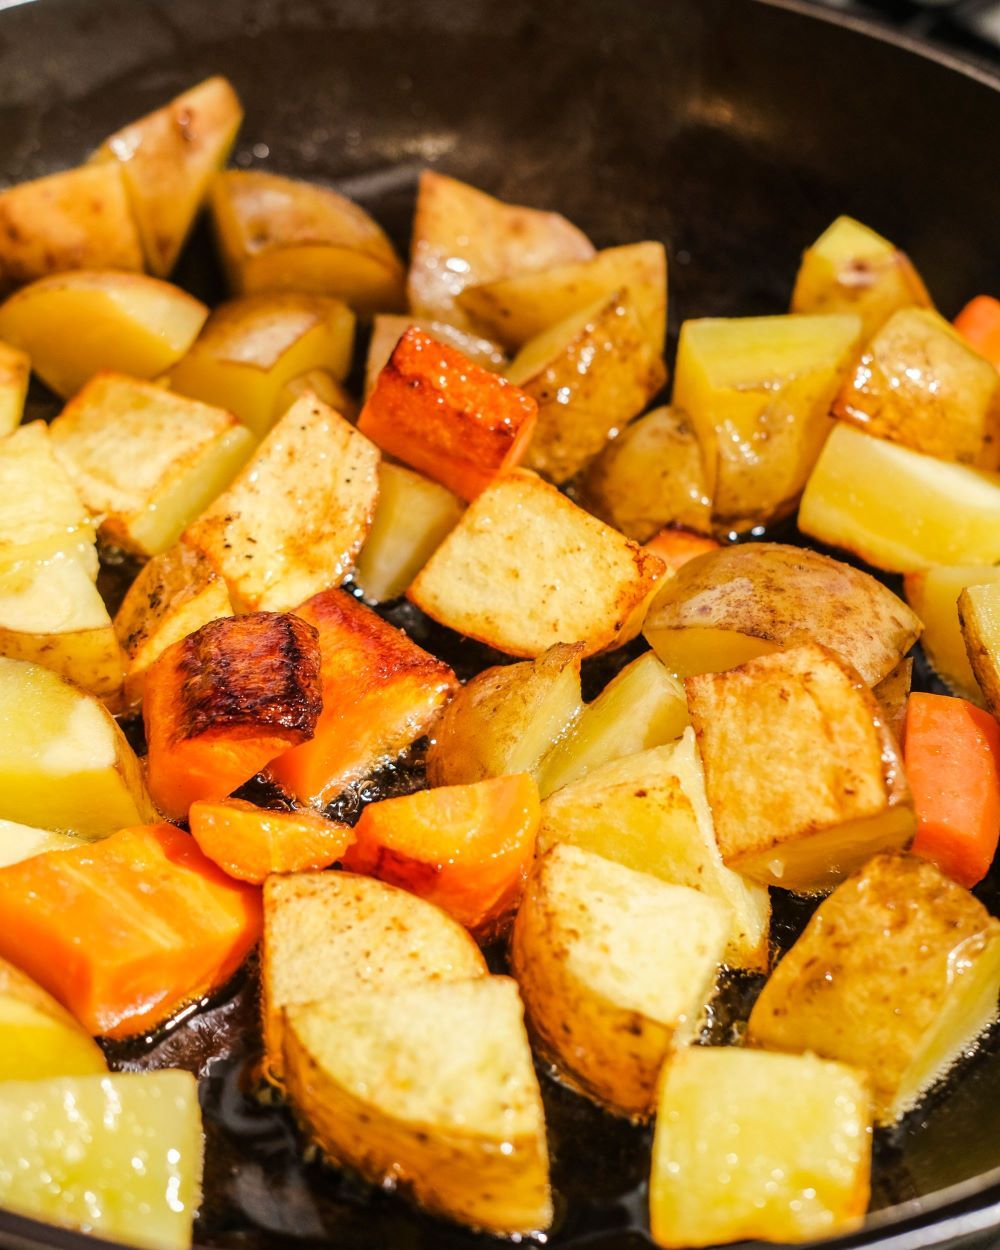
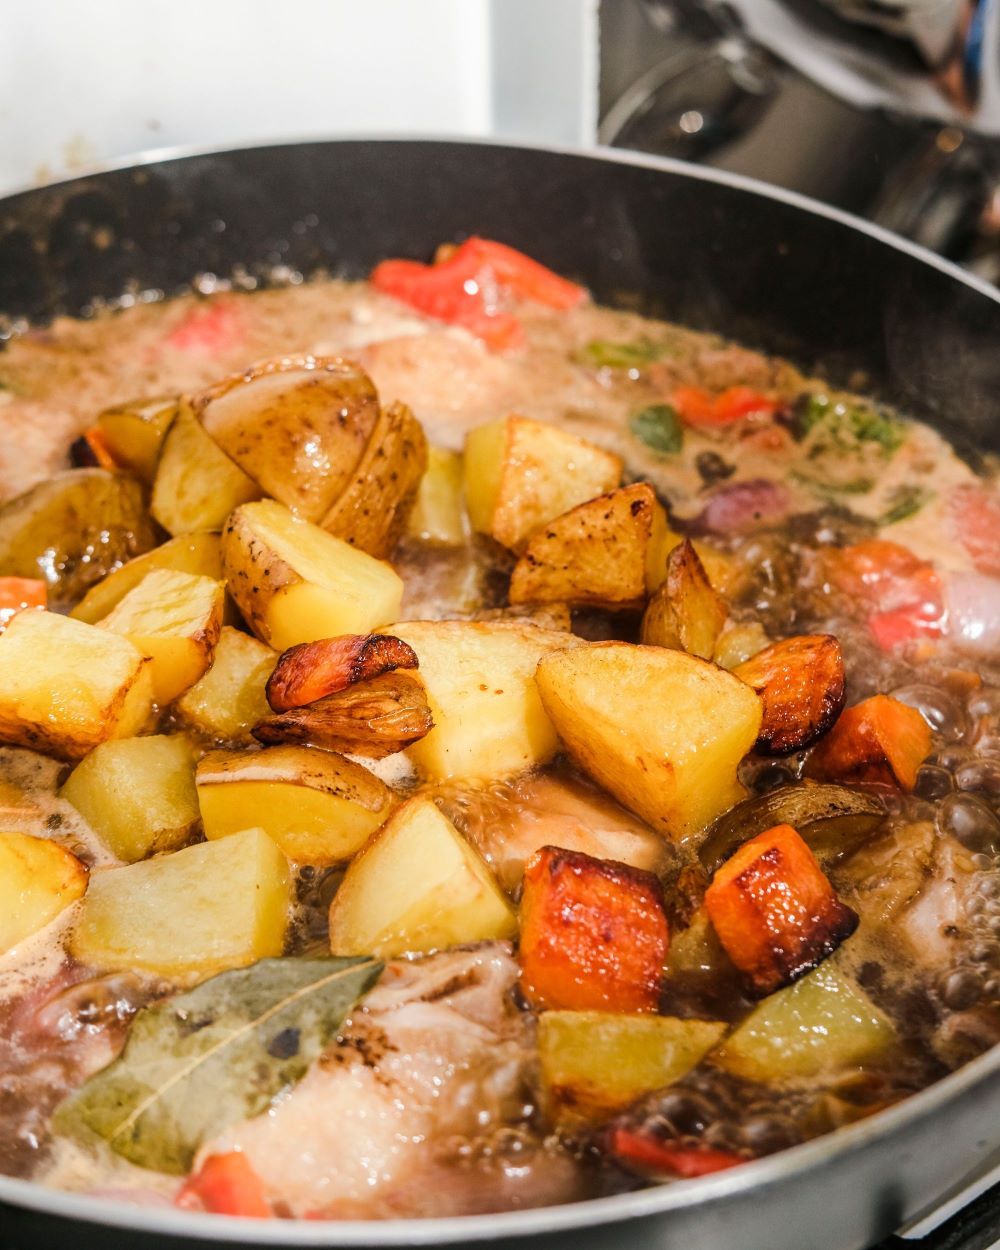
2. In another pan, fry your carrots and potatoes. This has been a practice my mom has taught me because it gives that added texture once you bite into them. You’ll appreciate the difference once you try it out! Fry until all sides are browned and a bit crispy then set aside. This also adds a good burnt taste if you ask me.
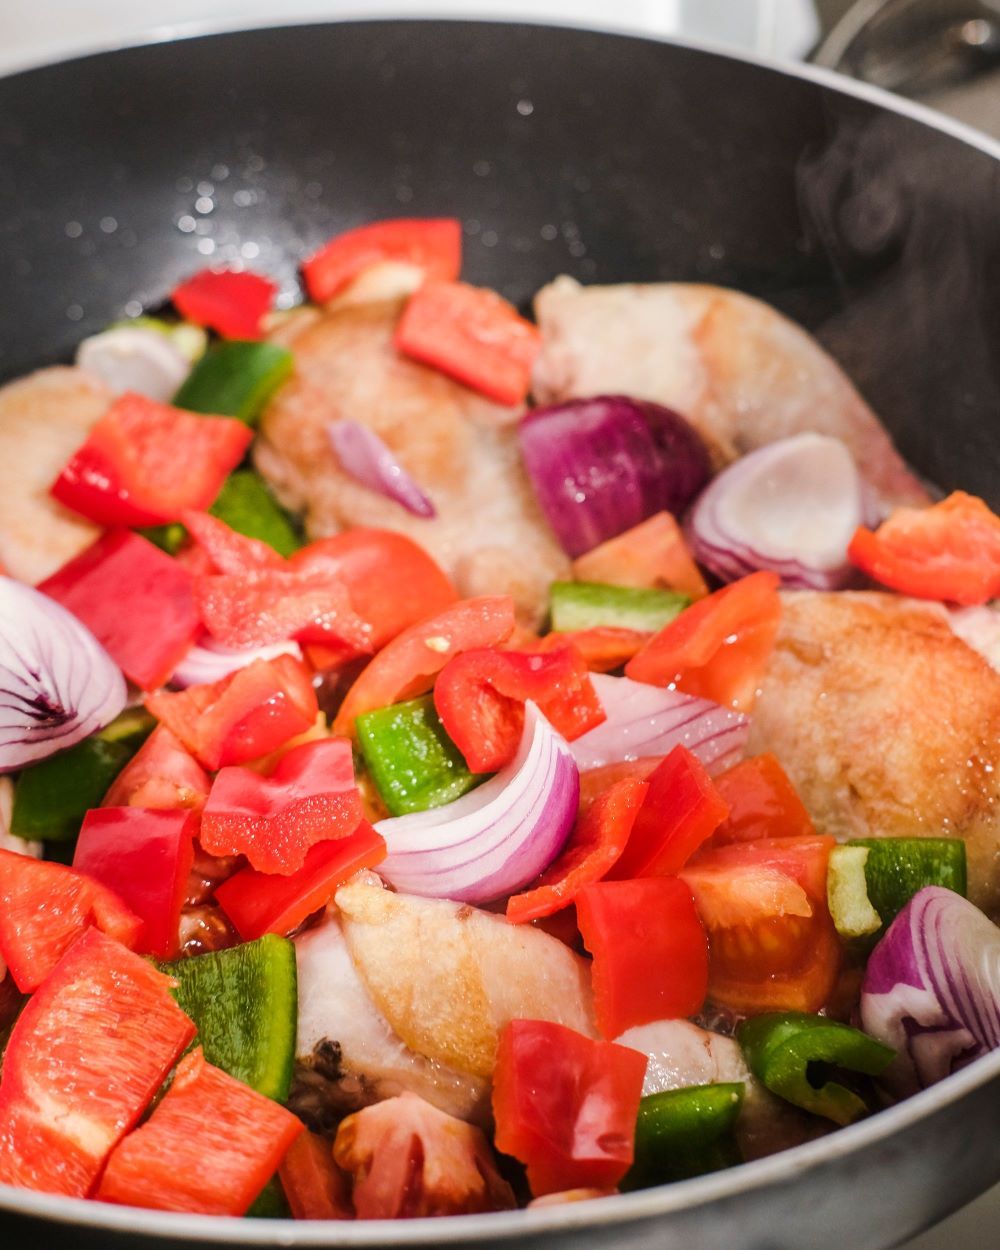
3. Once your chicken has turned golden brown on both sides, you may now add in your tomatoes, bell peppers, and onions. Saute for about 10 to 15 minutes.
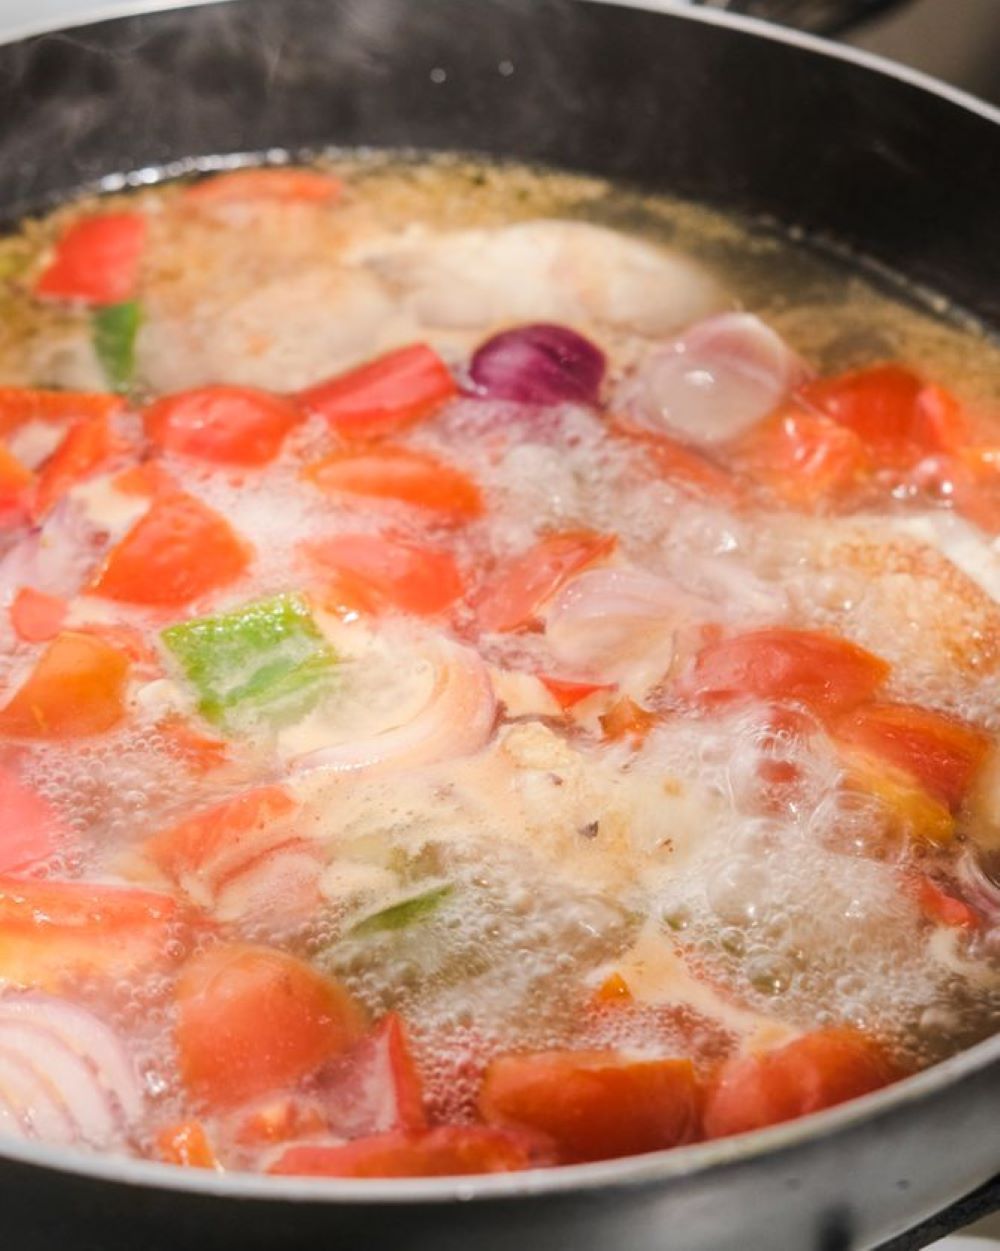
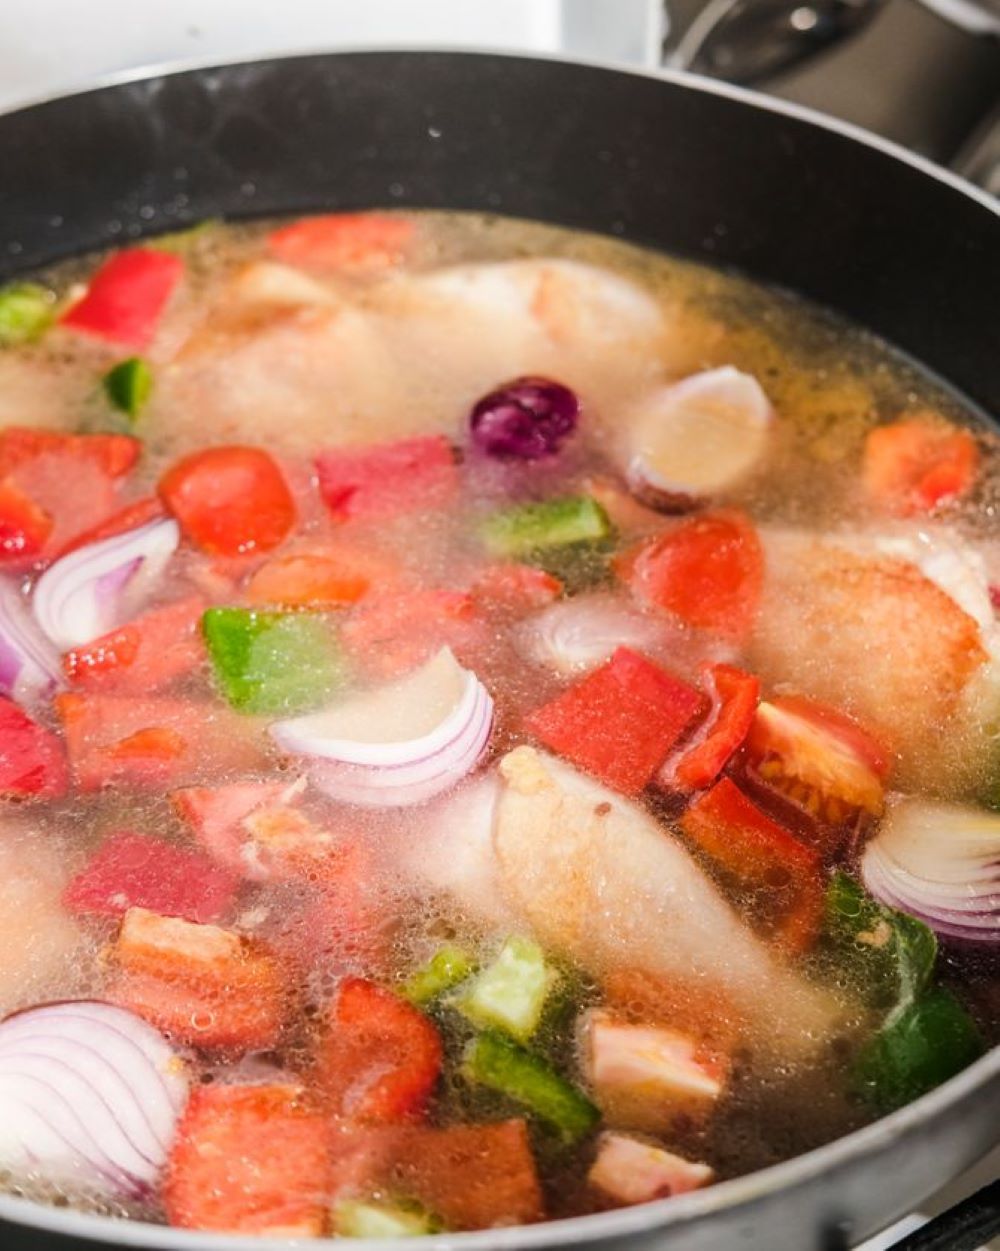
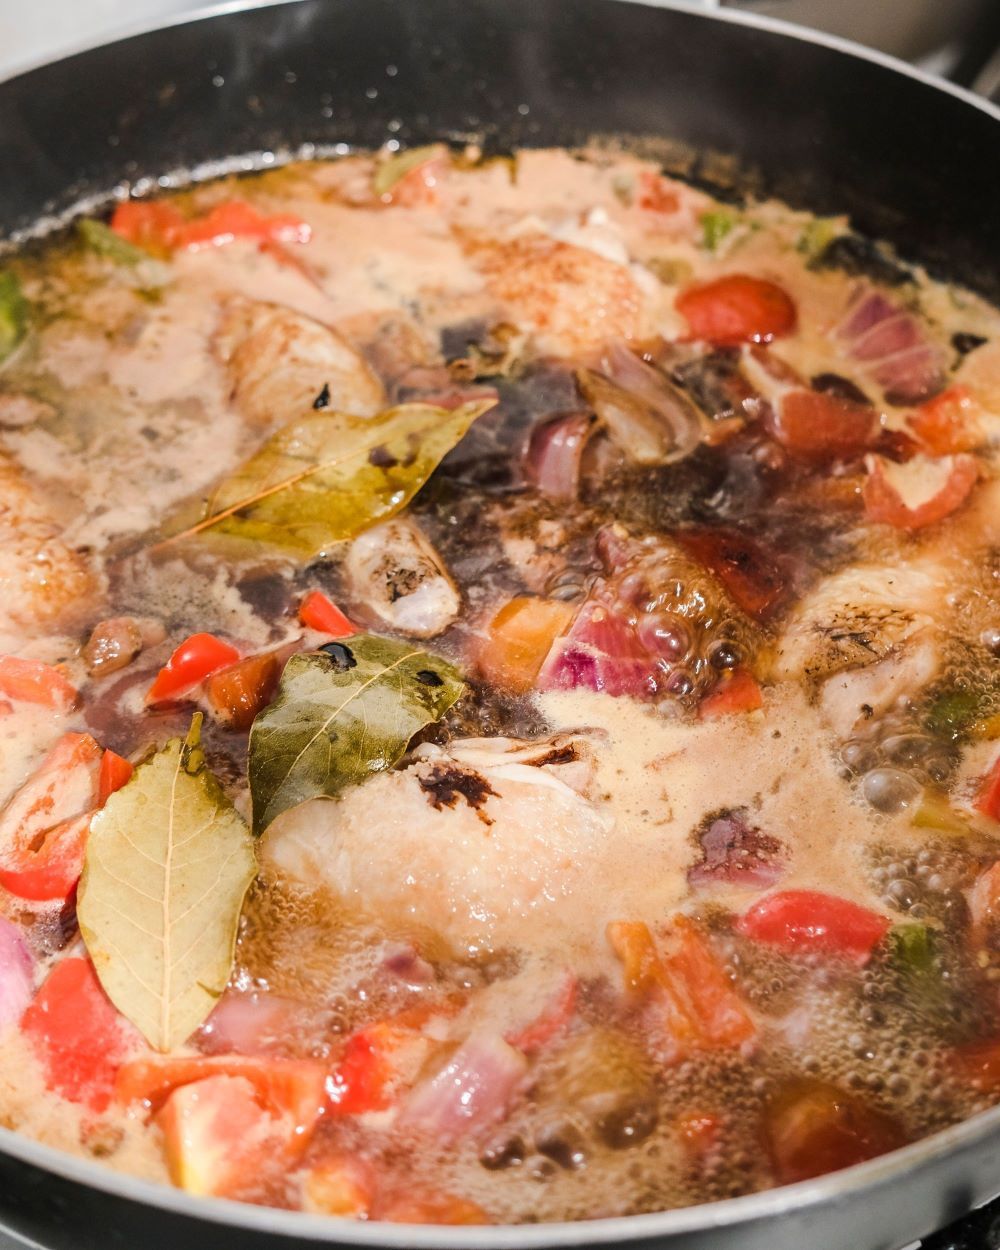
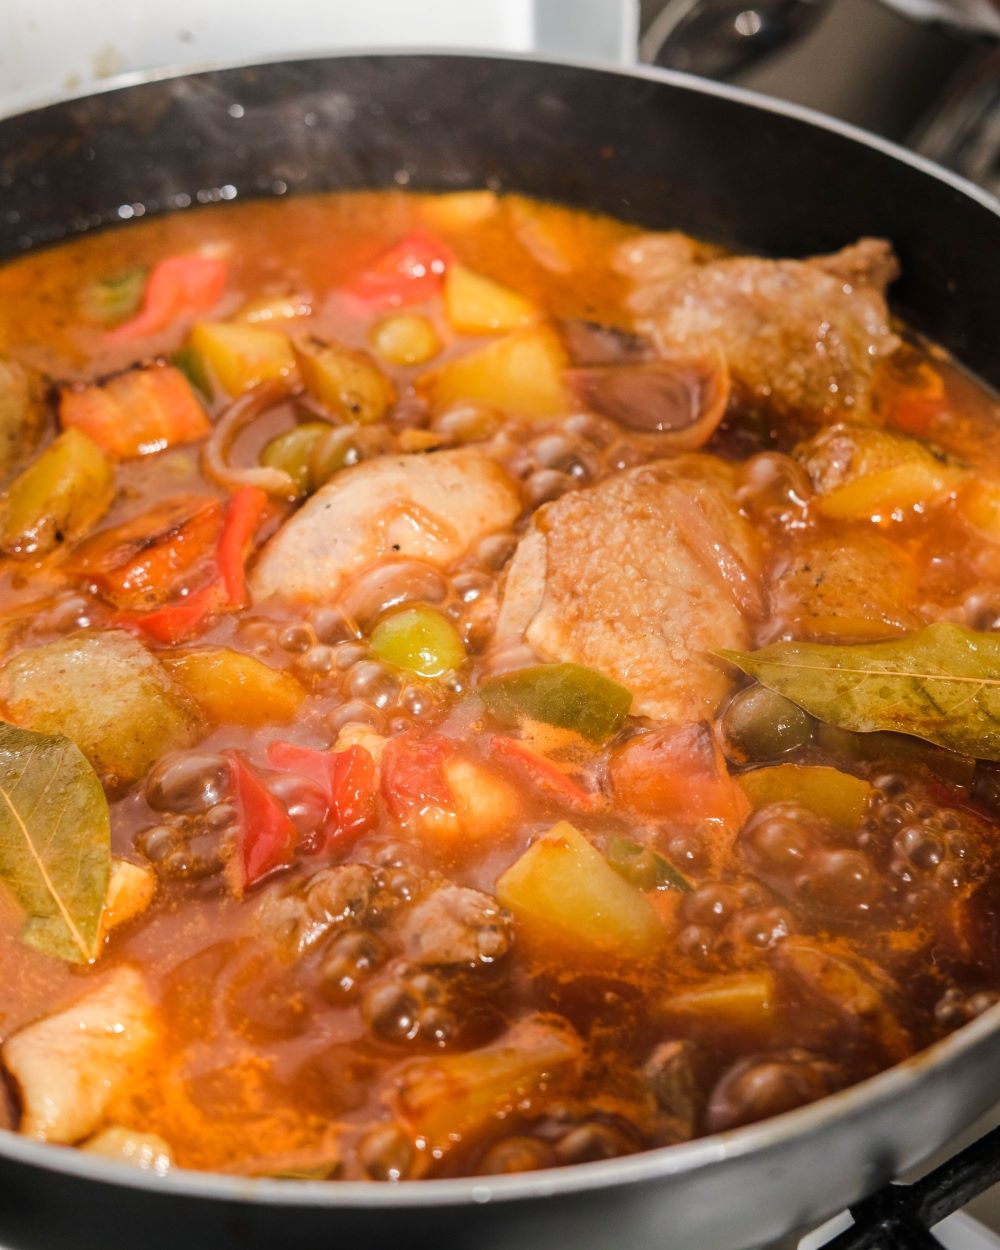
4. After your spices have cooked for a while, you may now add in some water. Just enough to cover all that’s already in your pan. We are not making soup! Just prepping this for sauce. Let that simmer for a while so your chicken and all these spices create its own stock and at the same time helps in making your chicken more tender. Doing so allows your chicken to have those juicy insides and soaked crunch exterior.
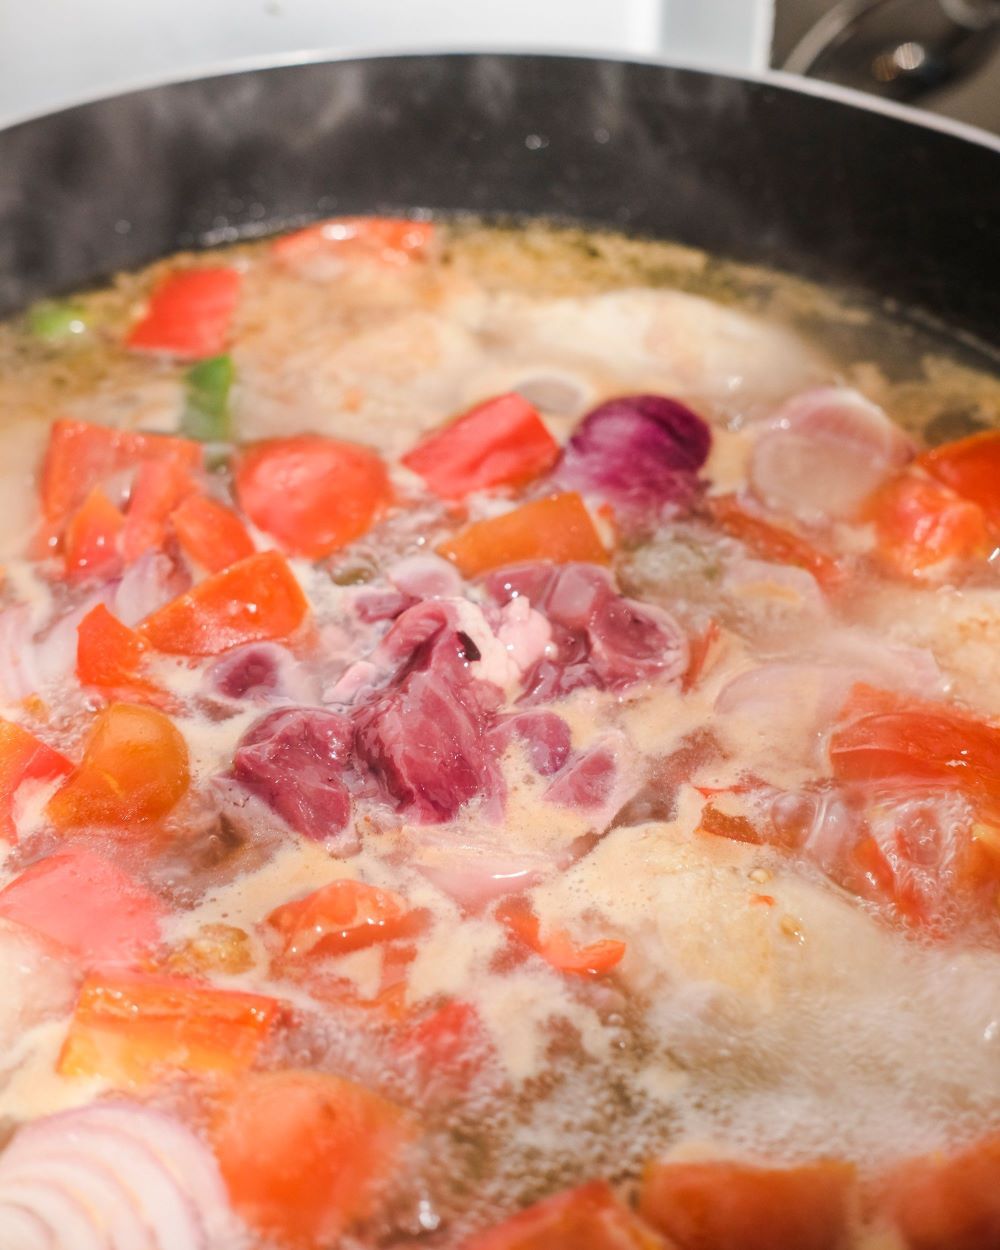
5. Once that’s had a good boil, onions and tomatoes soft enough, you may now add in your liver cut in small pieces. Liver cooks pretty quickly! Let this simmer for about 5-8mins.
6. Just a few steps left! Add in your bay leaves and chicken cubes. If in case you’ll be using chicken stock, make sure that when you do step 4, you don’t add in too much water. About half or a third of that will do.

7. Once your chicken cubes have dissolved, mix well and add in your soy sauce. Let it simmer for about 2 minutes.
8. Now add in your fried carrots and potatoes. In my case, these babies cooked around the same time I was just adding liver. I fried these in medium to low heat to be sure I’m not just cooking the sides but the insides as well. Mix those in!
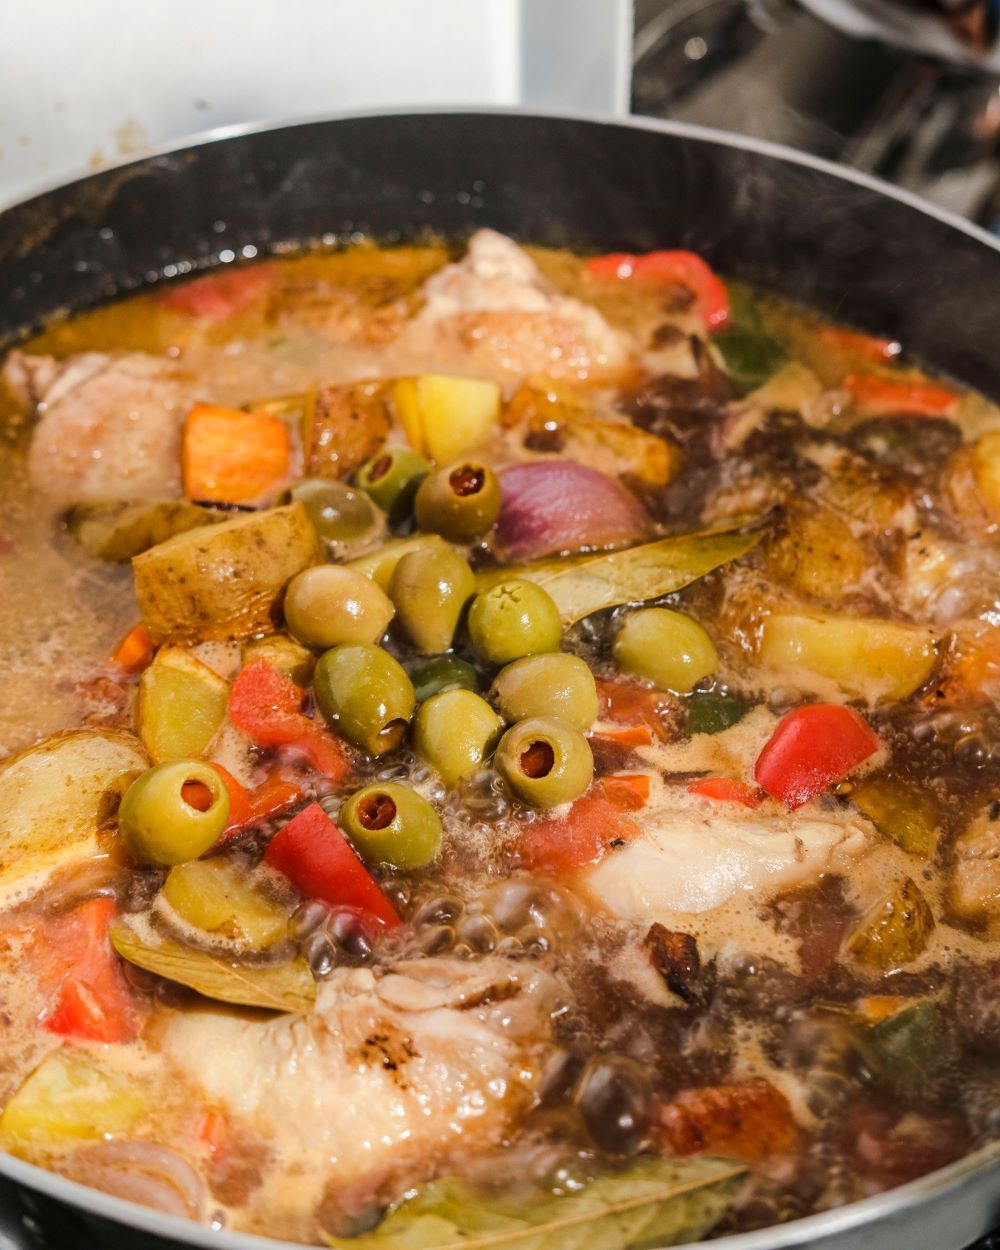
9. These are pitted olives with pimiento. I’ve always appreciated how pitted olives come in different variations. (Some even have anchovies inside!) Add these in!
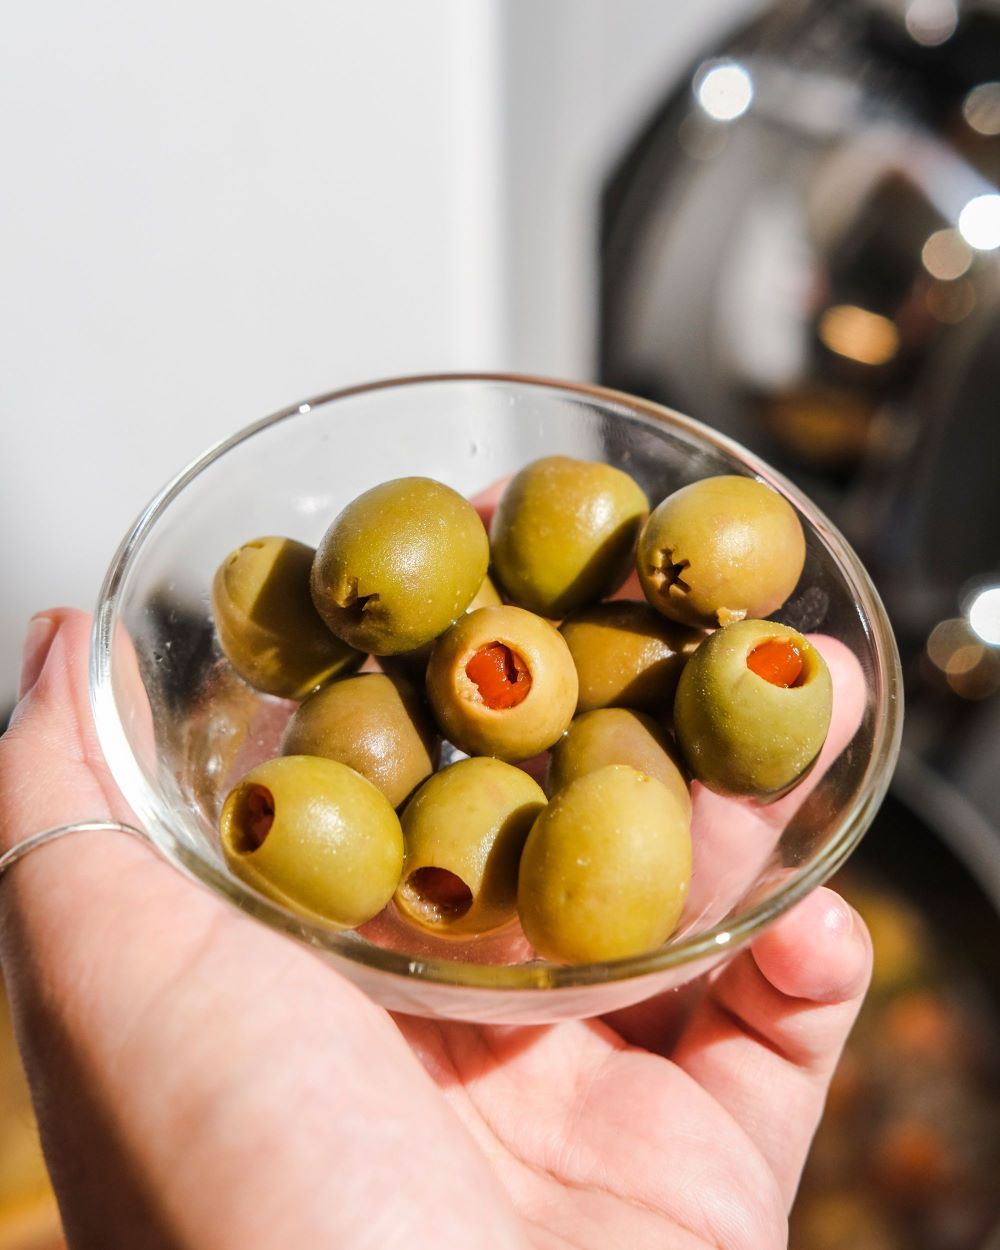
Olives always play such a nice role in dishes. It’s because you don’t really notice their flavor unless you actually bite into the olives themselves. So as you eat this dish and encounter an olive, you’ll just appreciate how good it tastes with all the other flavors. It adds a special mild kick in that bite - sweet and salty - perfectly compliments the dish in my opinion.
10. We finally add in our tomato paste. This adds that good acid that every savory dish needs. Also adds a really good color to your sauce. Mix that well and let it simmer until you reach your desired consistency.
Make sure to leave your pan or pot open so that liquid evaporates more quickly. The longer you let this simmer in low heat, the better because the sauce flavor just intensifies.
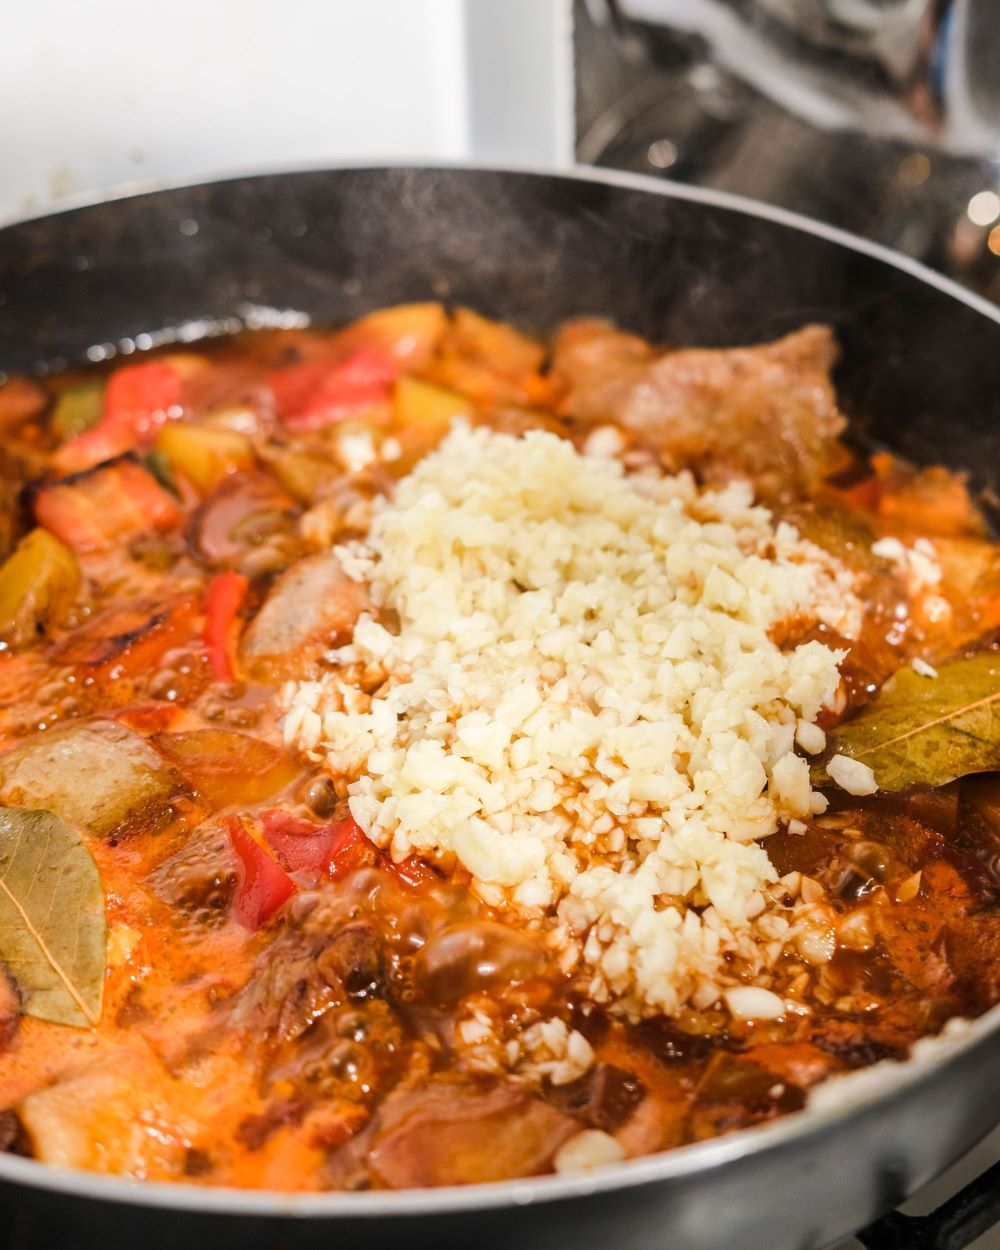
11. Once you are nearer to that desired consistency for your sauce, you can finally add your minced garlic. We always love adding garlic at the end because this allows your dish’s garlic to have that more pungent flavor. Mix well!
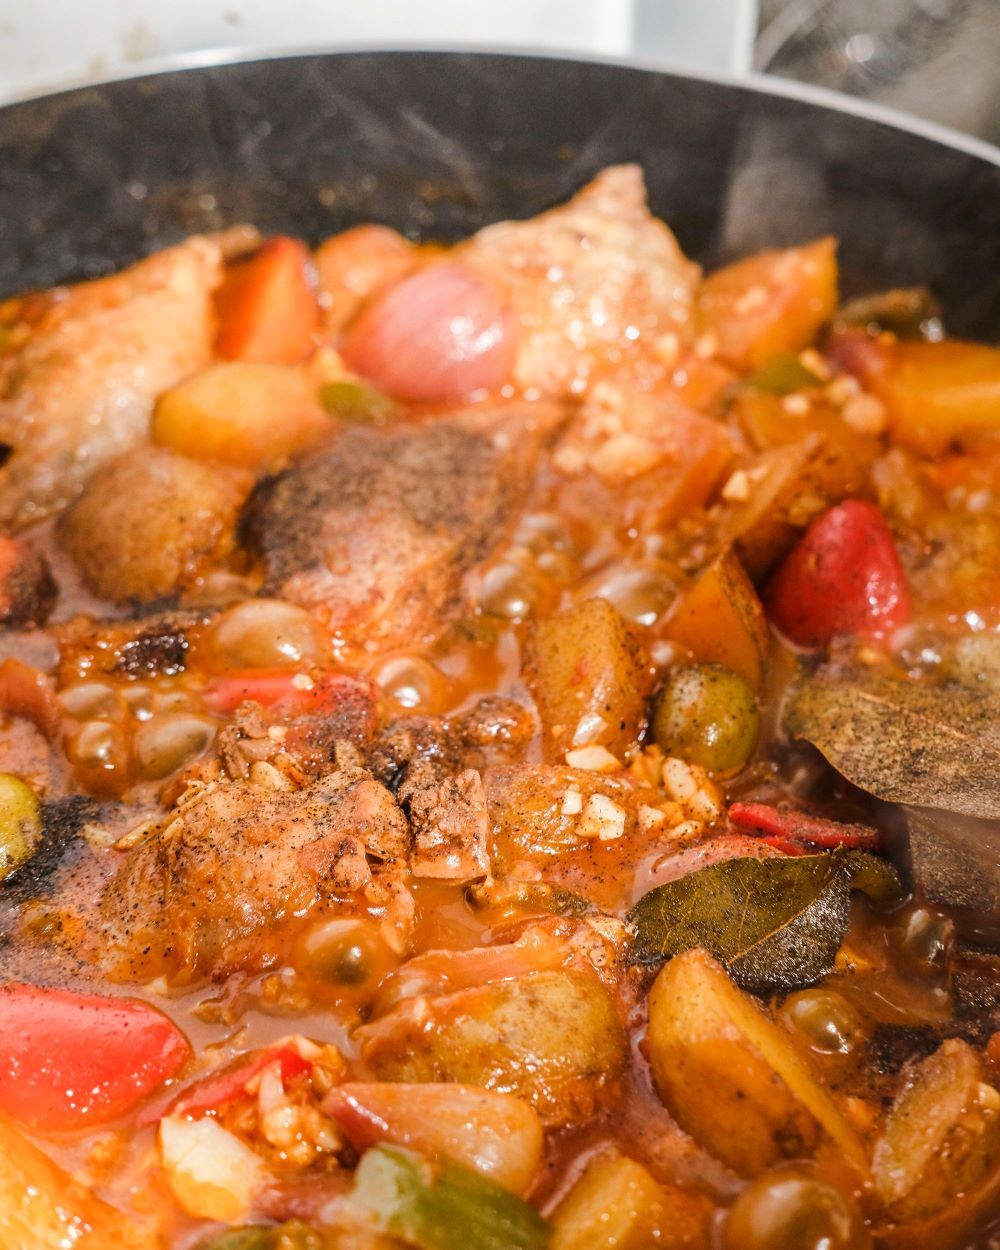
12. Lastly, season with lots of pepper. Well, just add as much as recommended - and add gradually until it tastes just like how you want it.
Conclusion
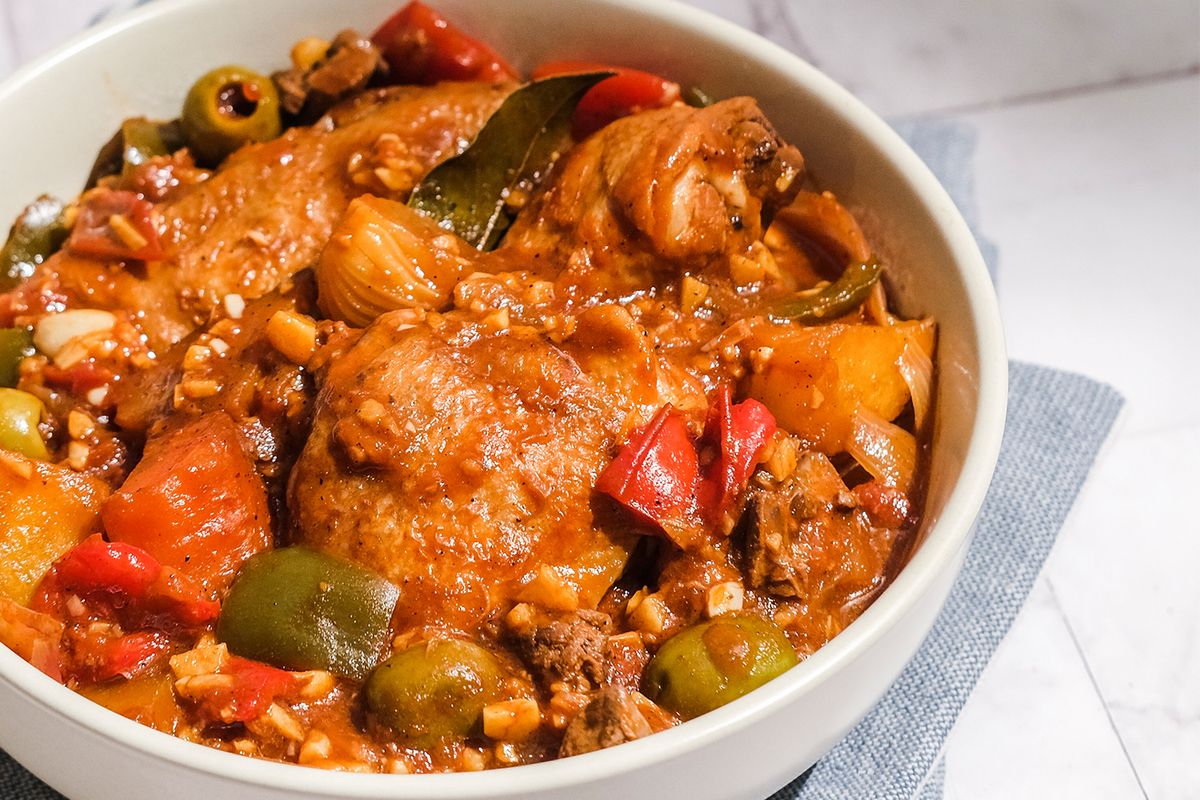
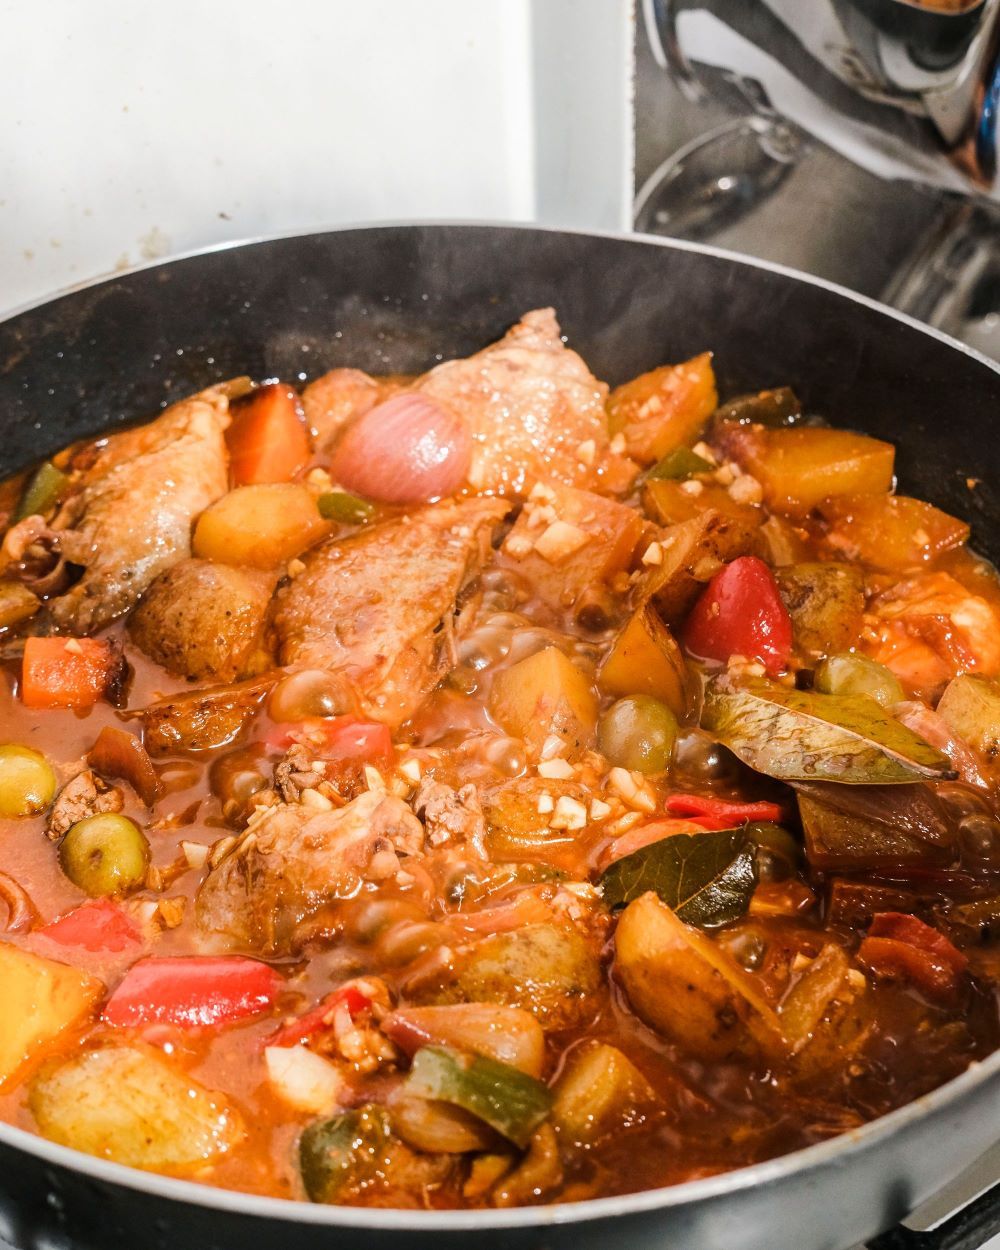
This is basically how your beautiful creation of a Spanish-inspired dish should look like at the end. Look at all those colors! Photos you can taste, am I right?
Take this to a potluck and they will probably ask you for its recipe - and all you have to do is share this link. Now how easy was that?
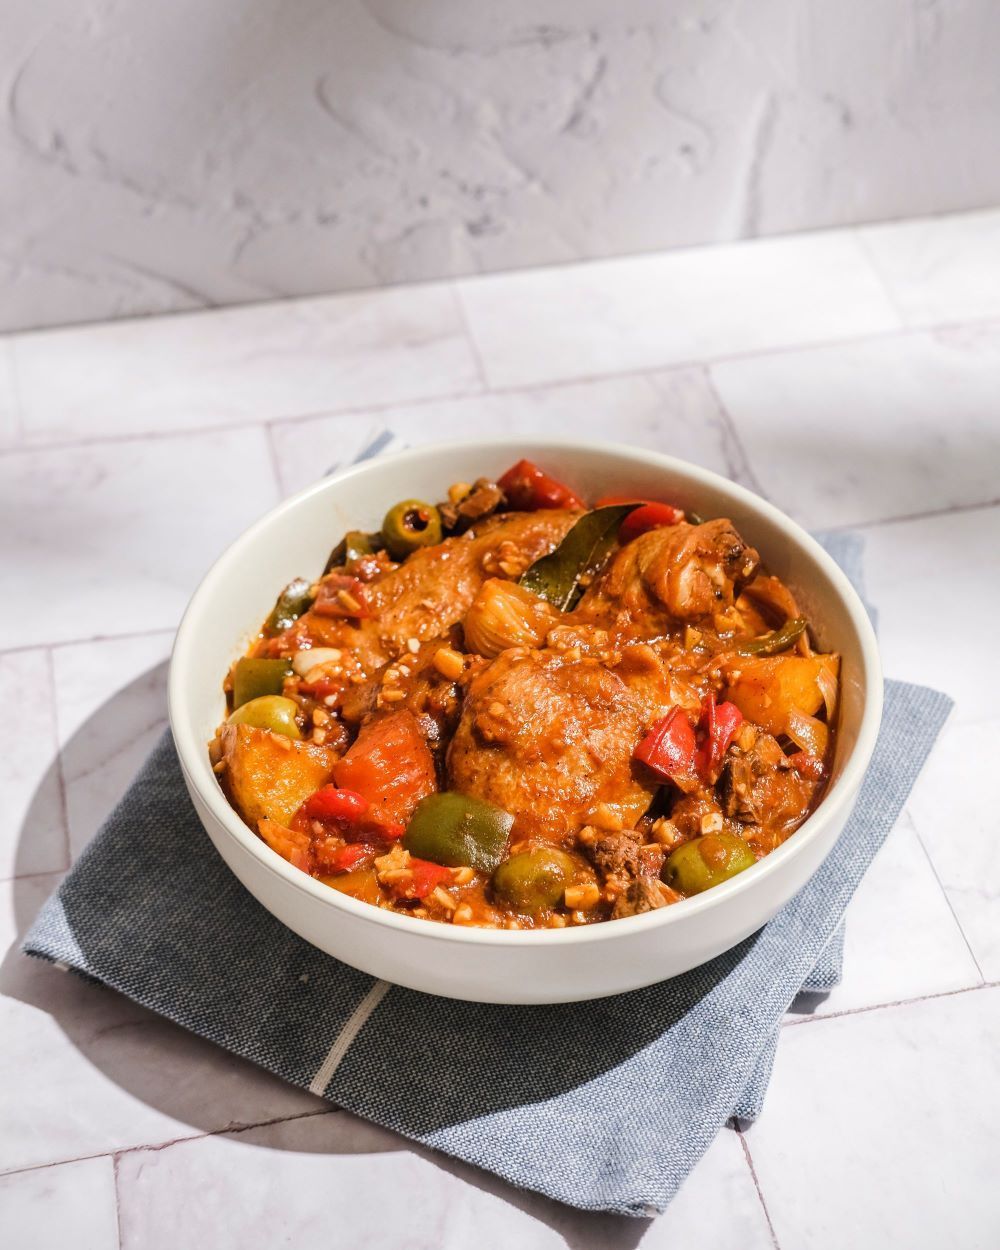
Don’t be intimidated by recipes with long lists of ingredients needed. Take them up as a challenge because sometimes you’ll just be surprised with what kind of sorcery marrying lots of flavors can actually do to your tastebuds.
Time to dig in a try that out!
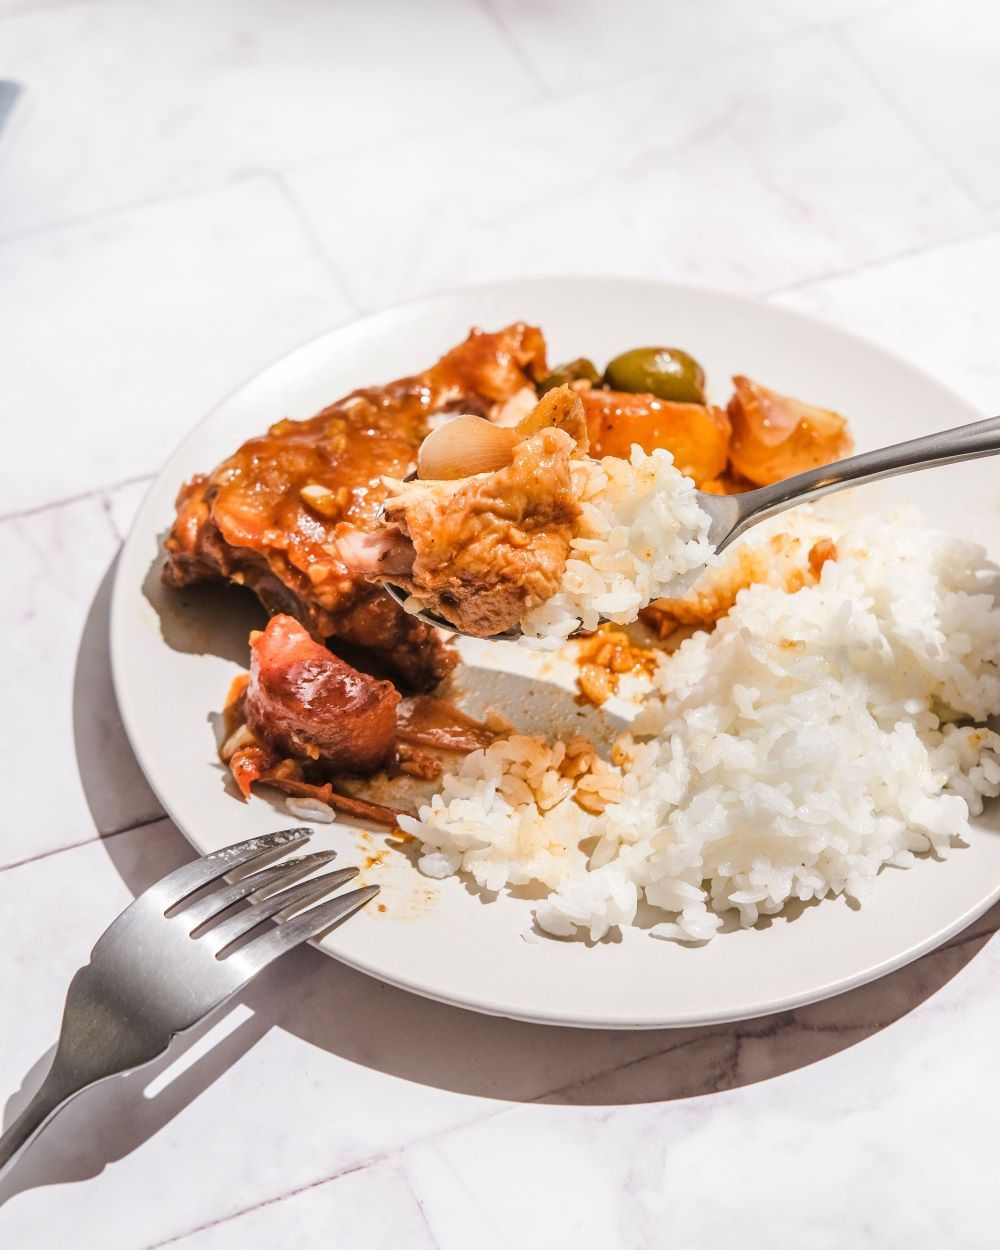
With rice, of course.